Thank you to ALDI for sponsoring this post! And thank you to my readers for supporting the brands who help make my work possible.
The words meal prep often bring to mind images of seven identical tupperware containers filled with super healthy, flavorless meals, the kind of stuff that bodybuilders eat. While this approach might work for a small number of people, it routinely fails most of us because it gets incredibly boring to eat the same meal over and over.
When I used to meal prep this conventional way, I literally never made it past day 3. I have vivid memories of tossing out my office lunch or dinner only to chow down on takeout (and cookies). Talk about wasting time, money, and food!
But, over the last few years, I’ve developed a better, smarter way of meal prepping: the building blocks method.
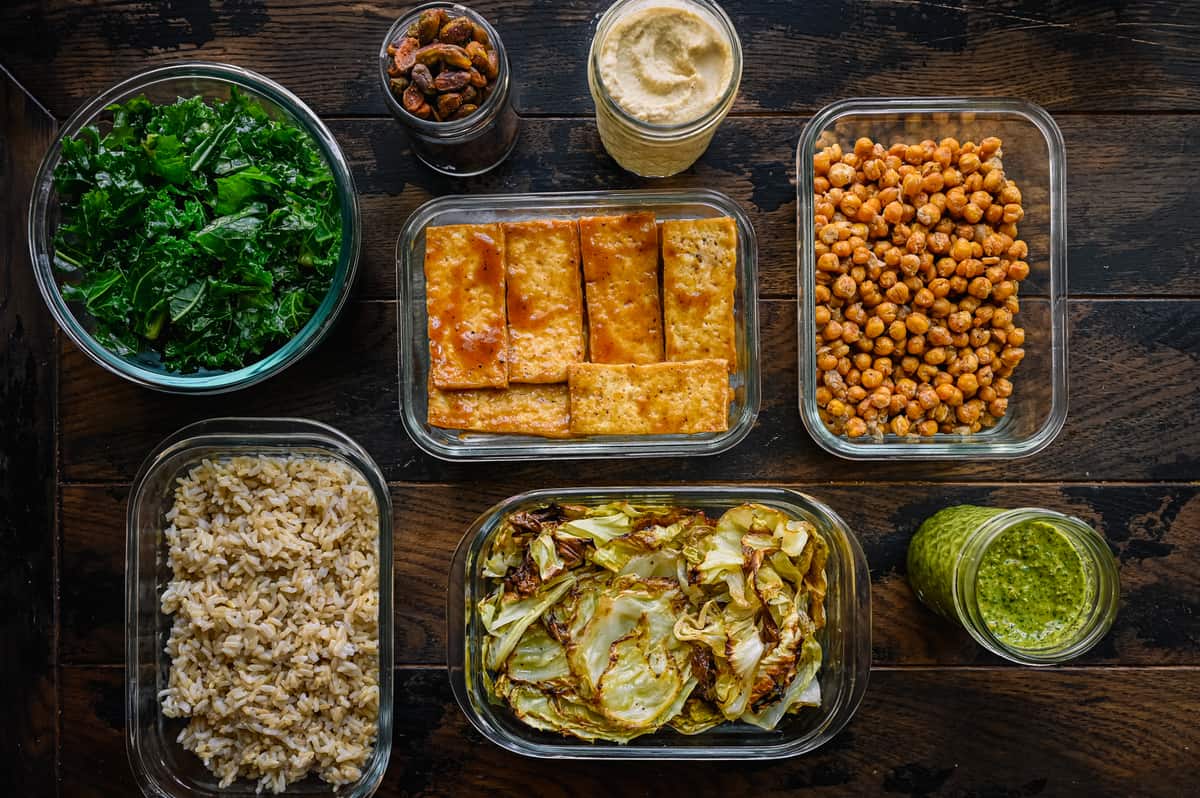
I focus on prepping certain categories of foods that I can use to build my meals (e.g., brown rice for grains, chickpeas and tofu for protein, a couple different sauces, etc.).
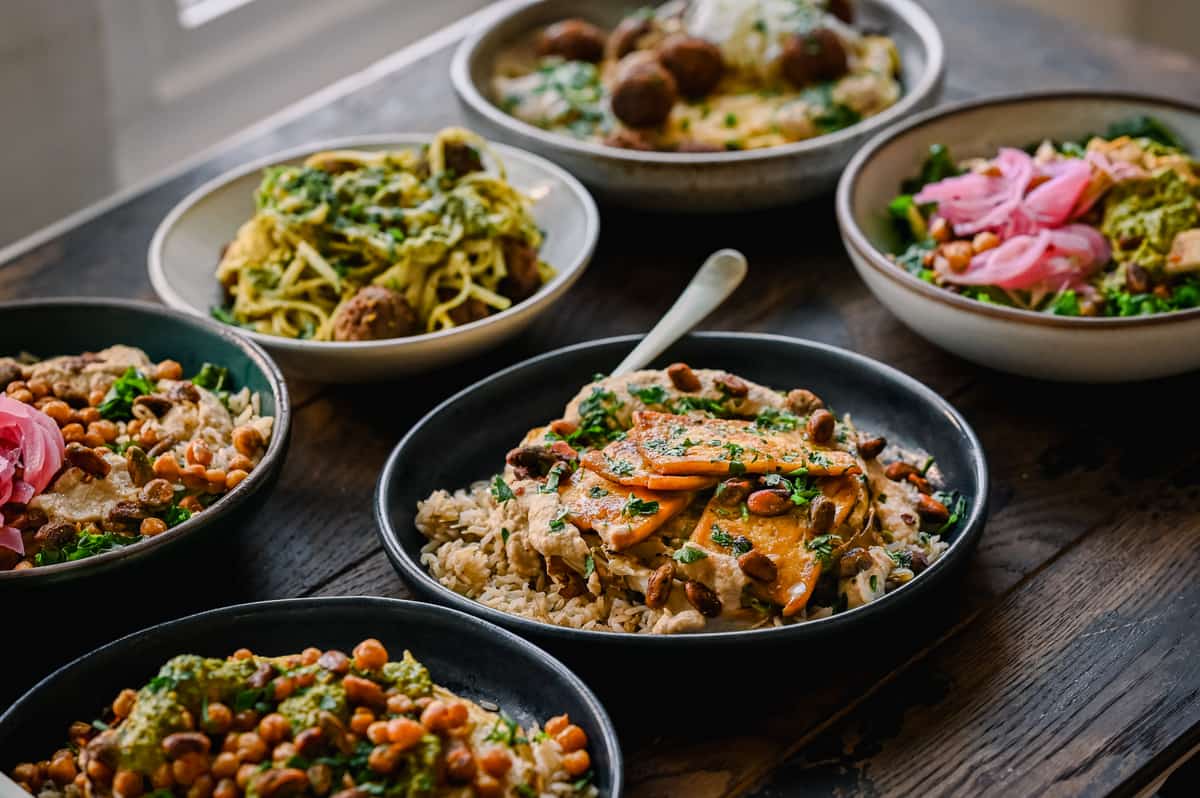
Then, throughout the week, I mix and match these foods in different combinations. I get to eat something new every day, which makes me so much more likely to actually eat the food I prepared.
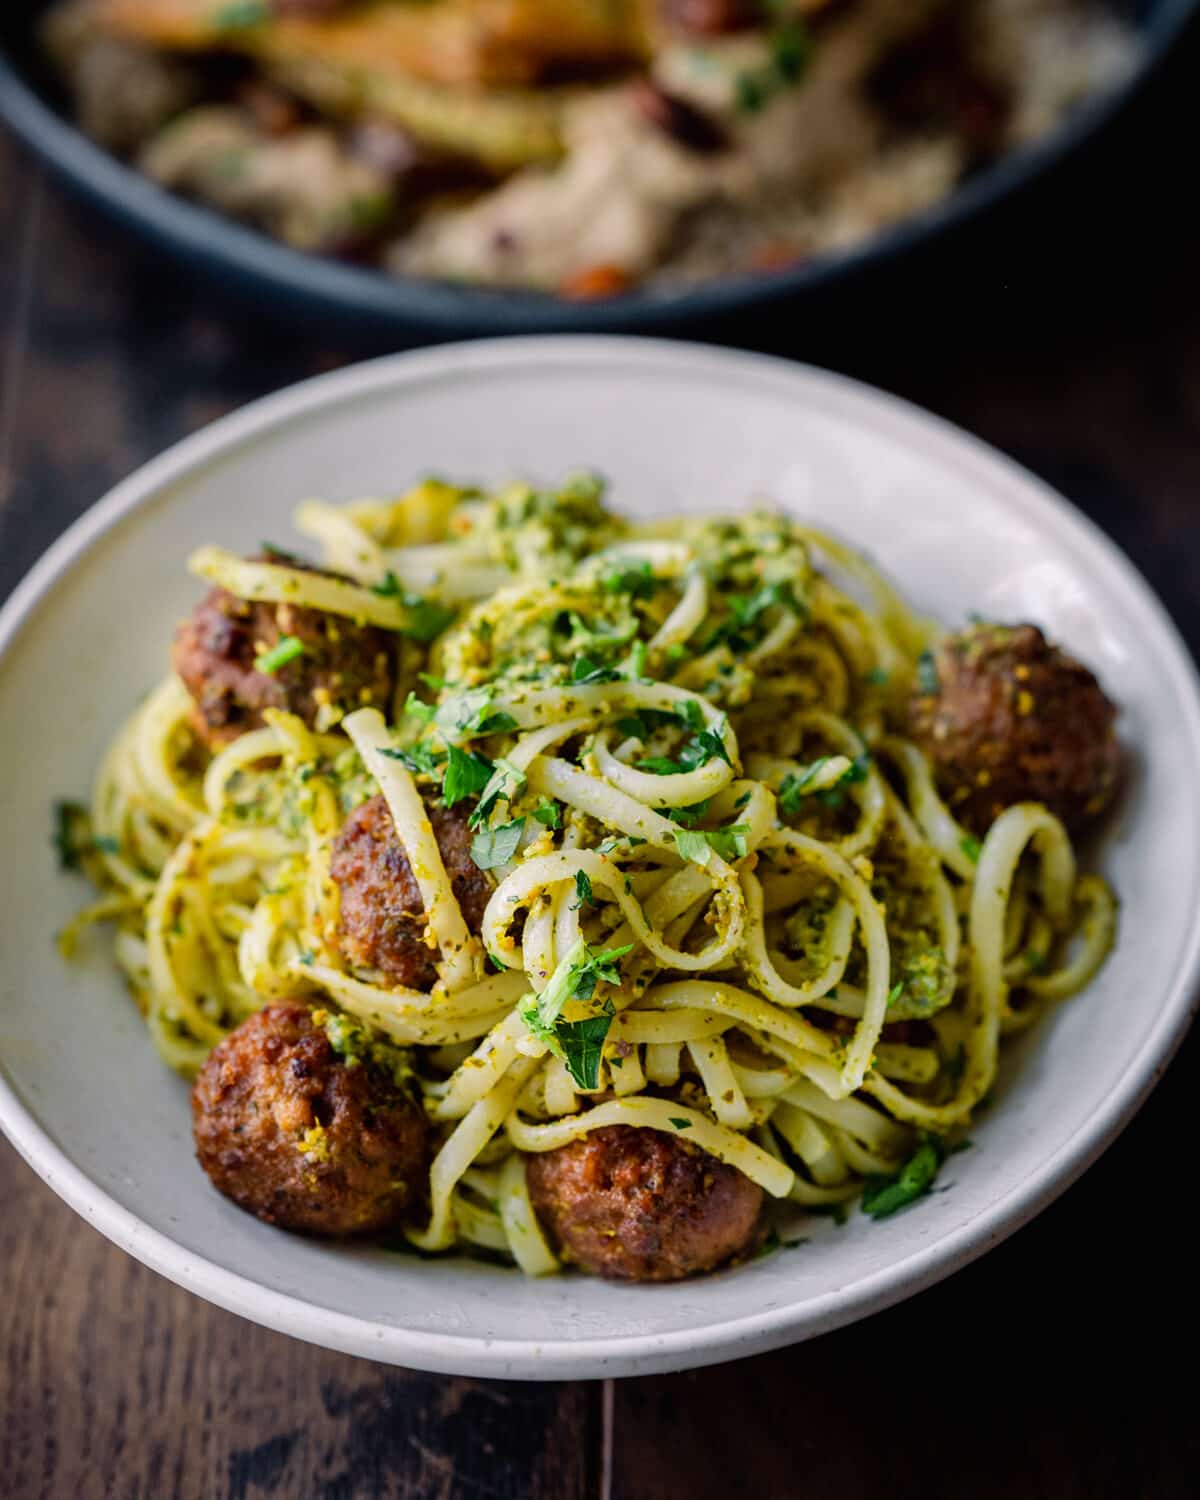
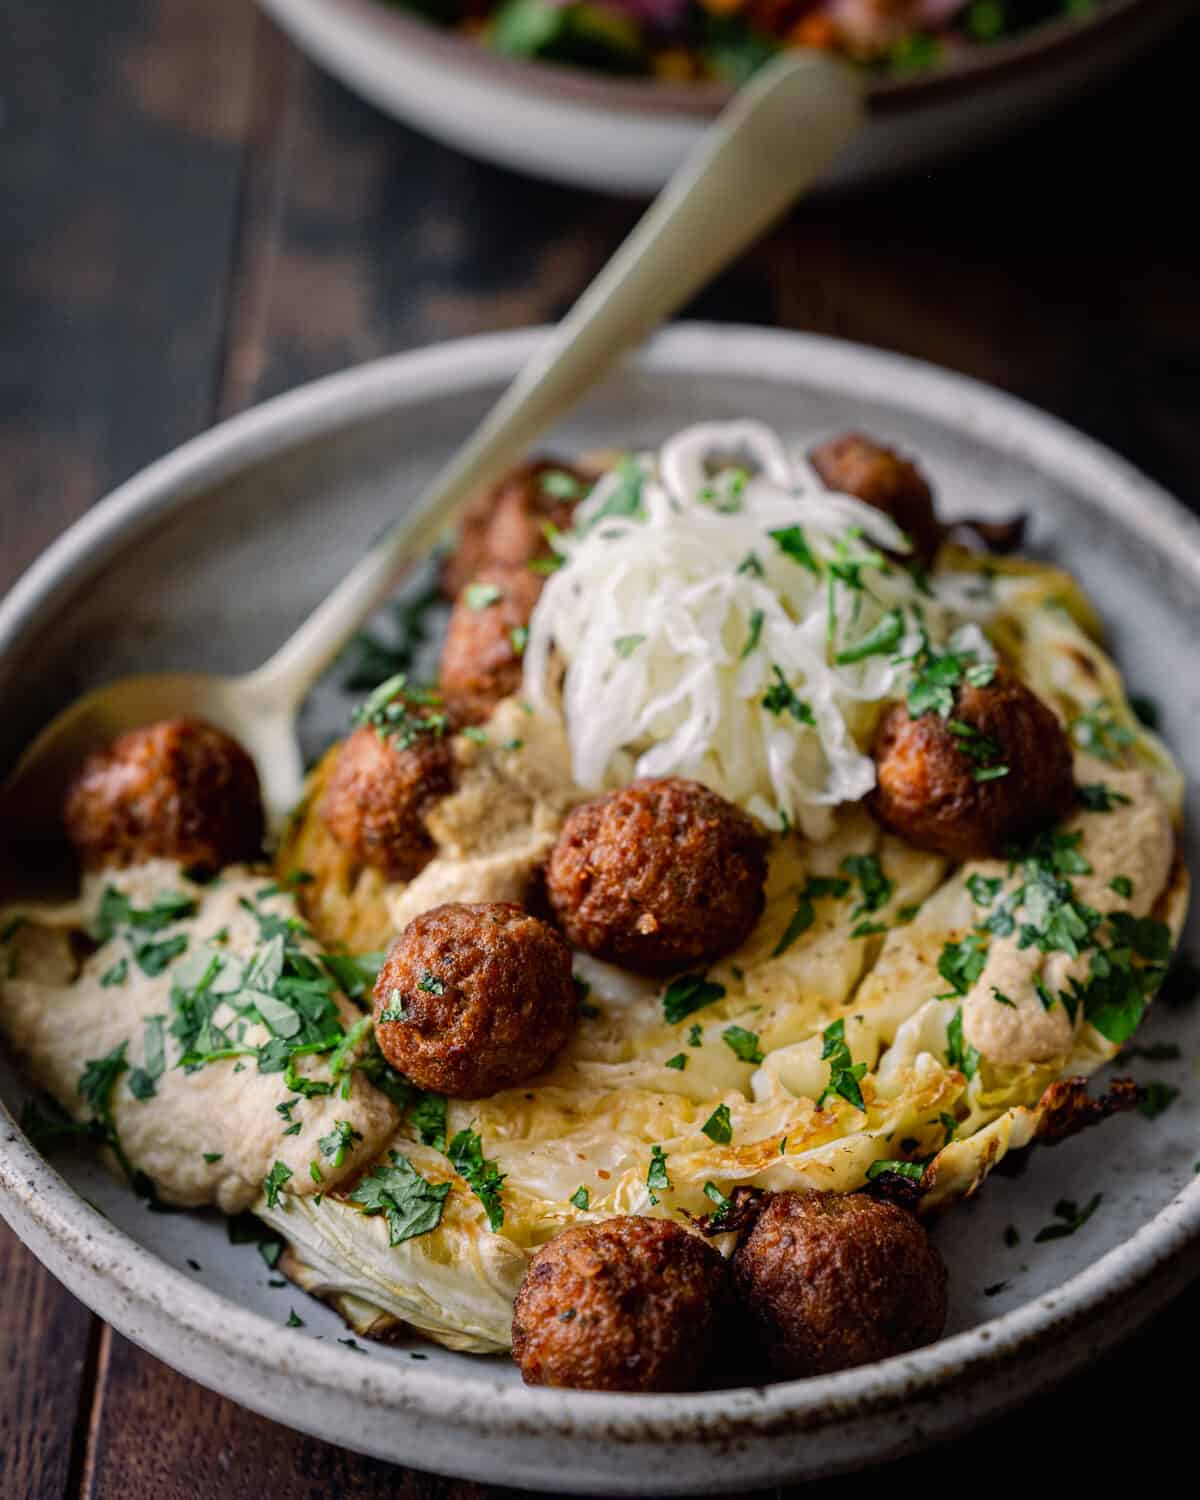
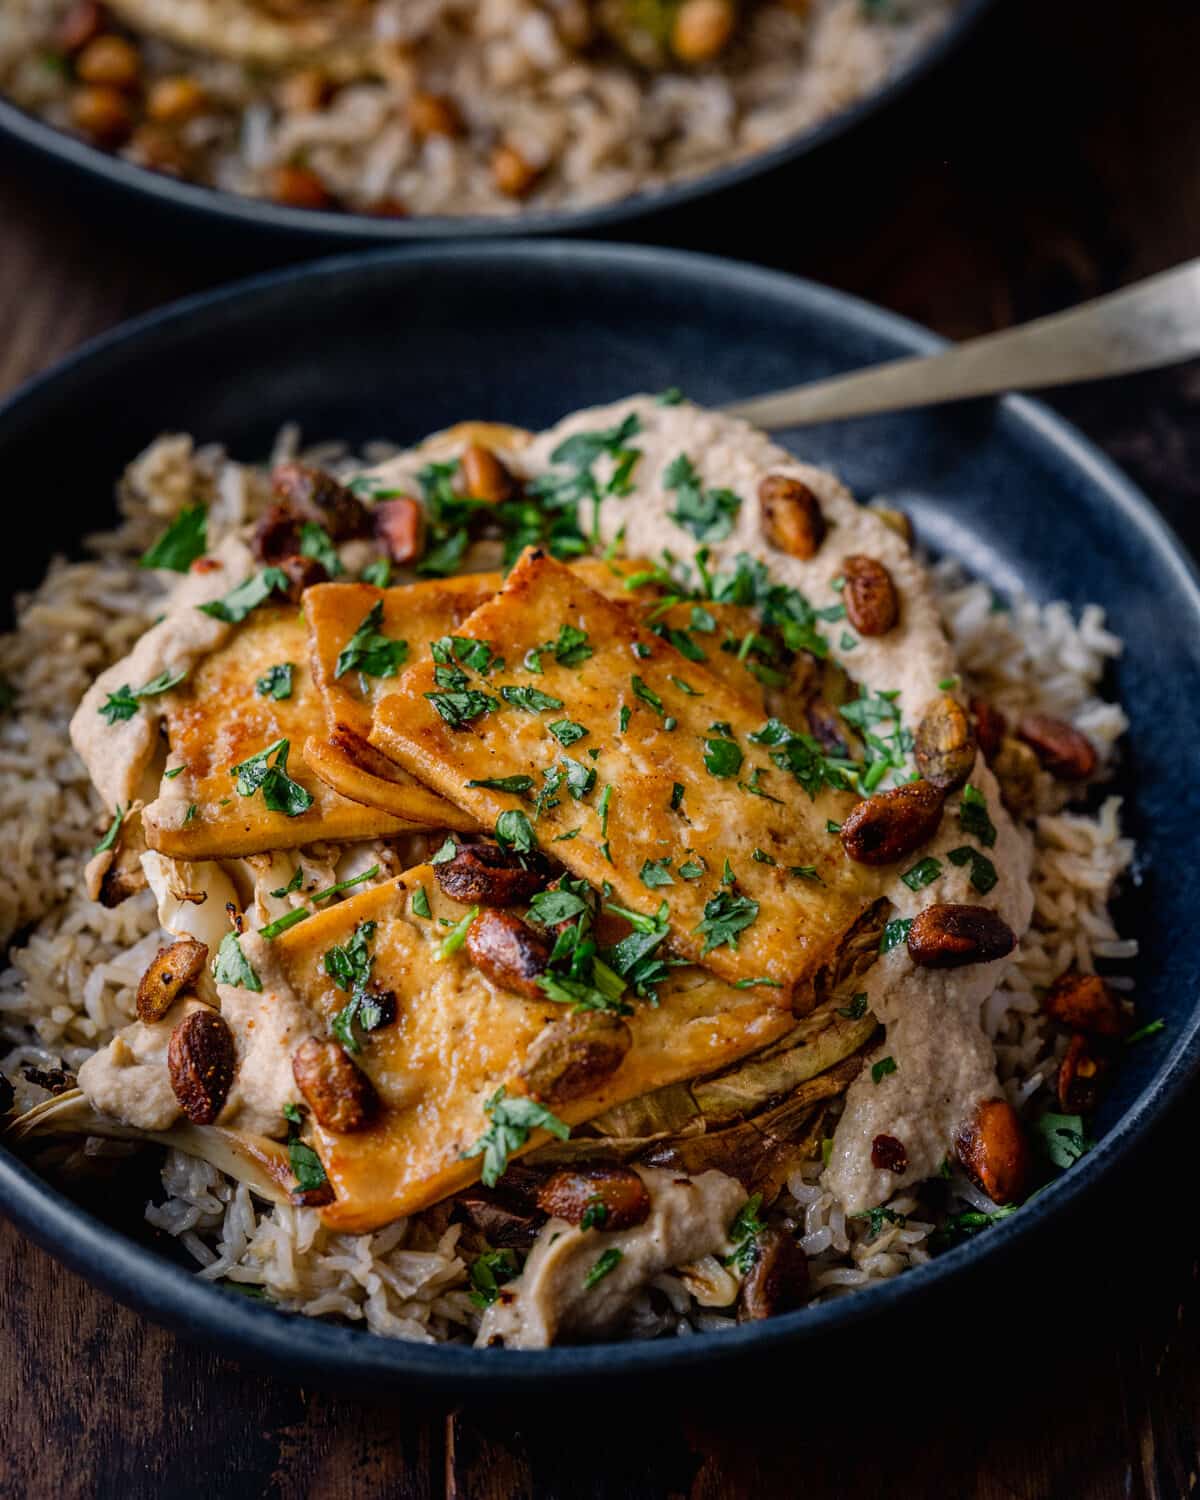
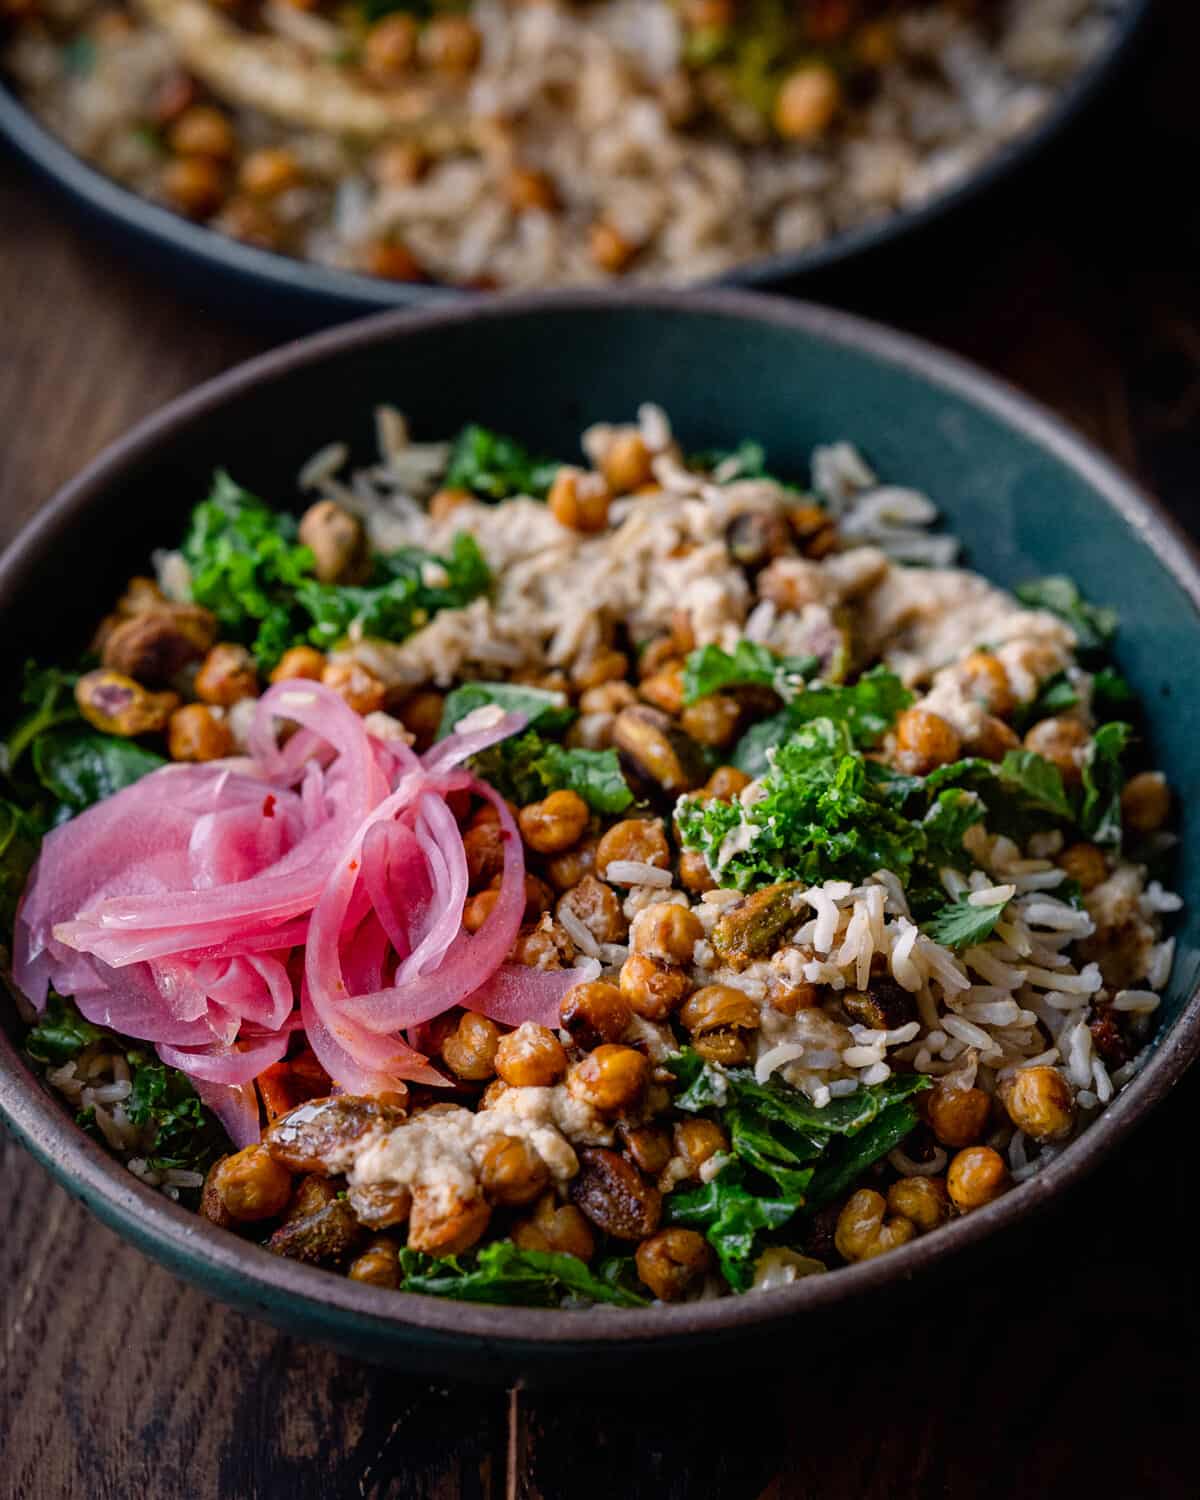
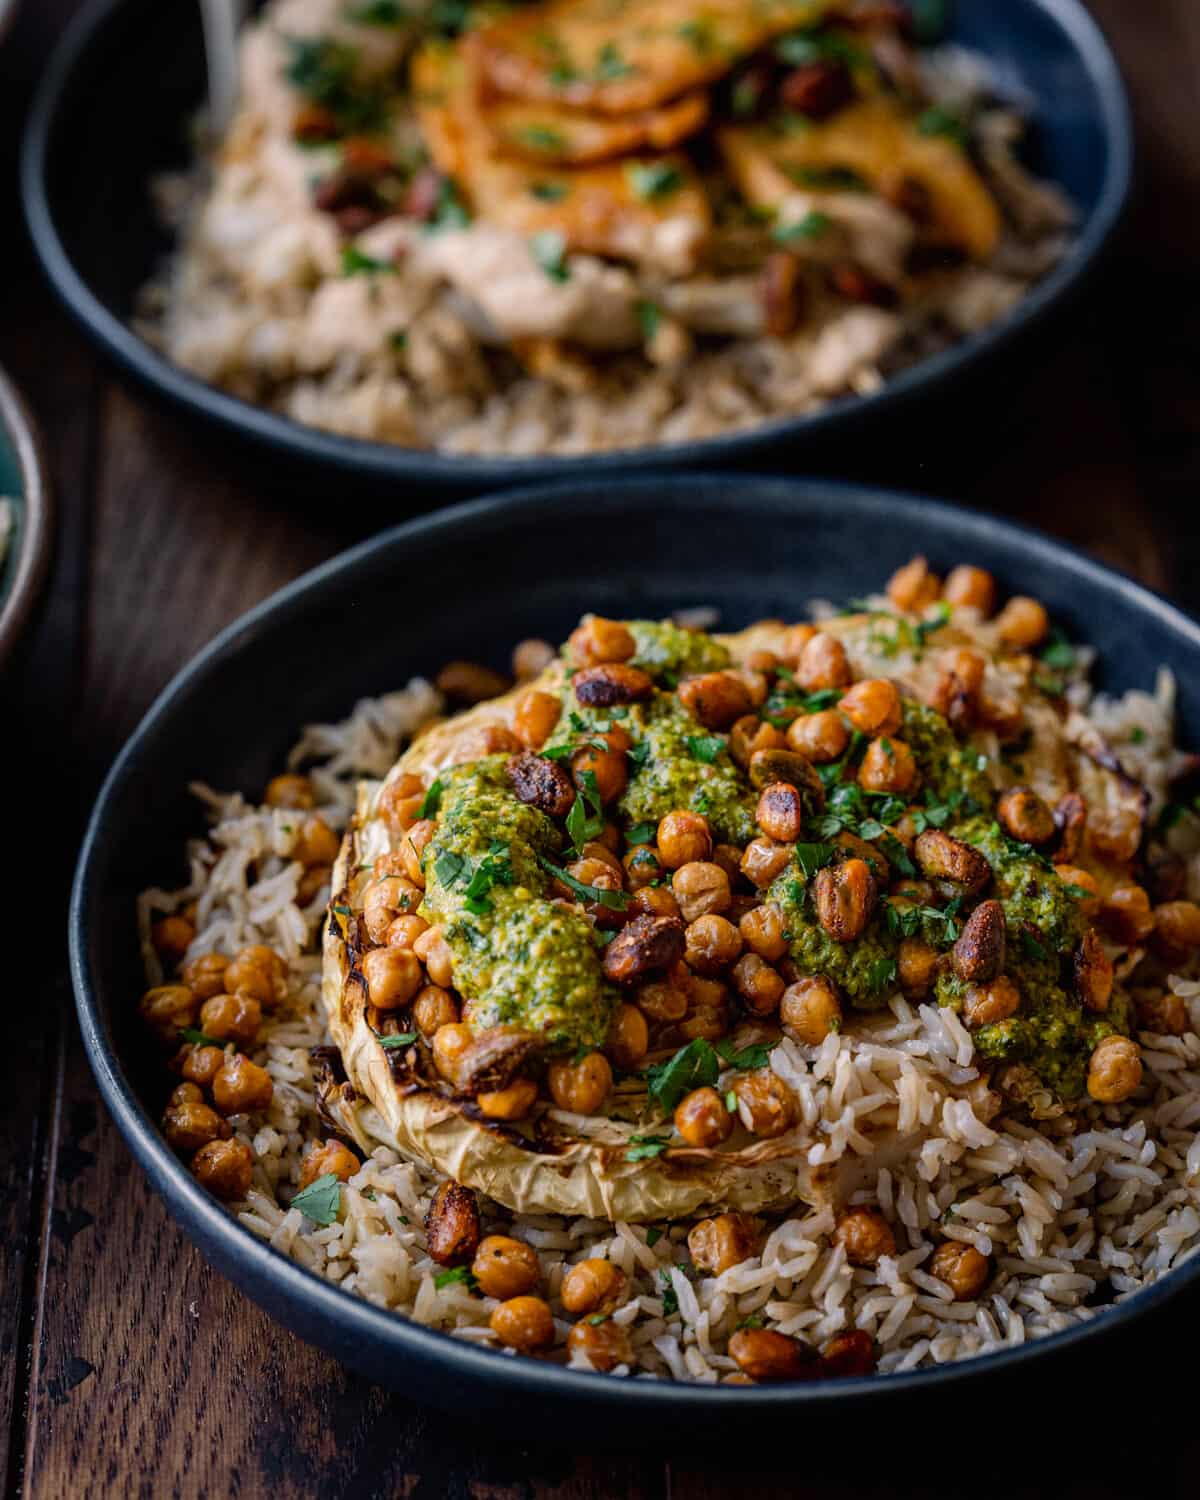
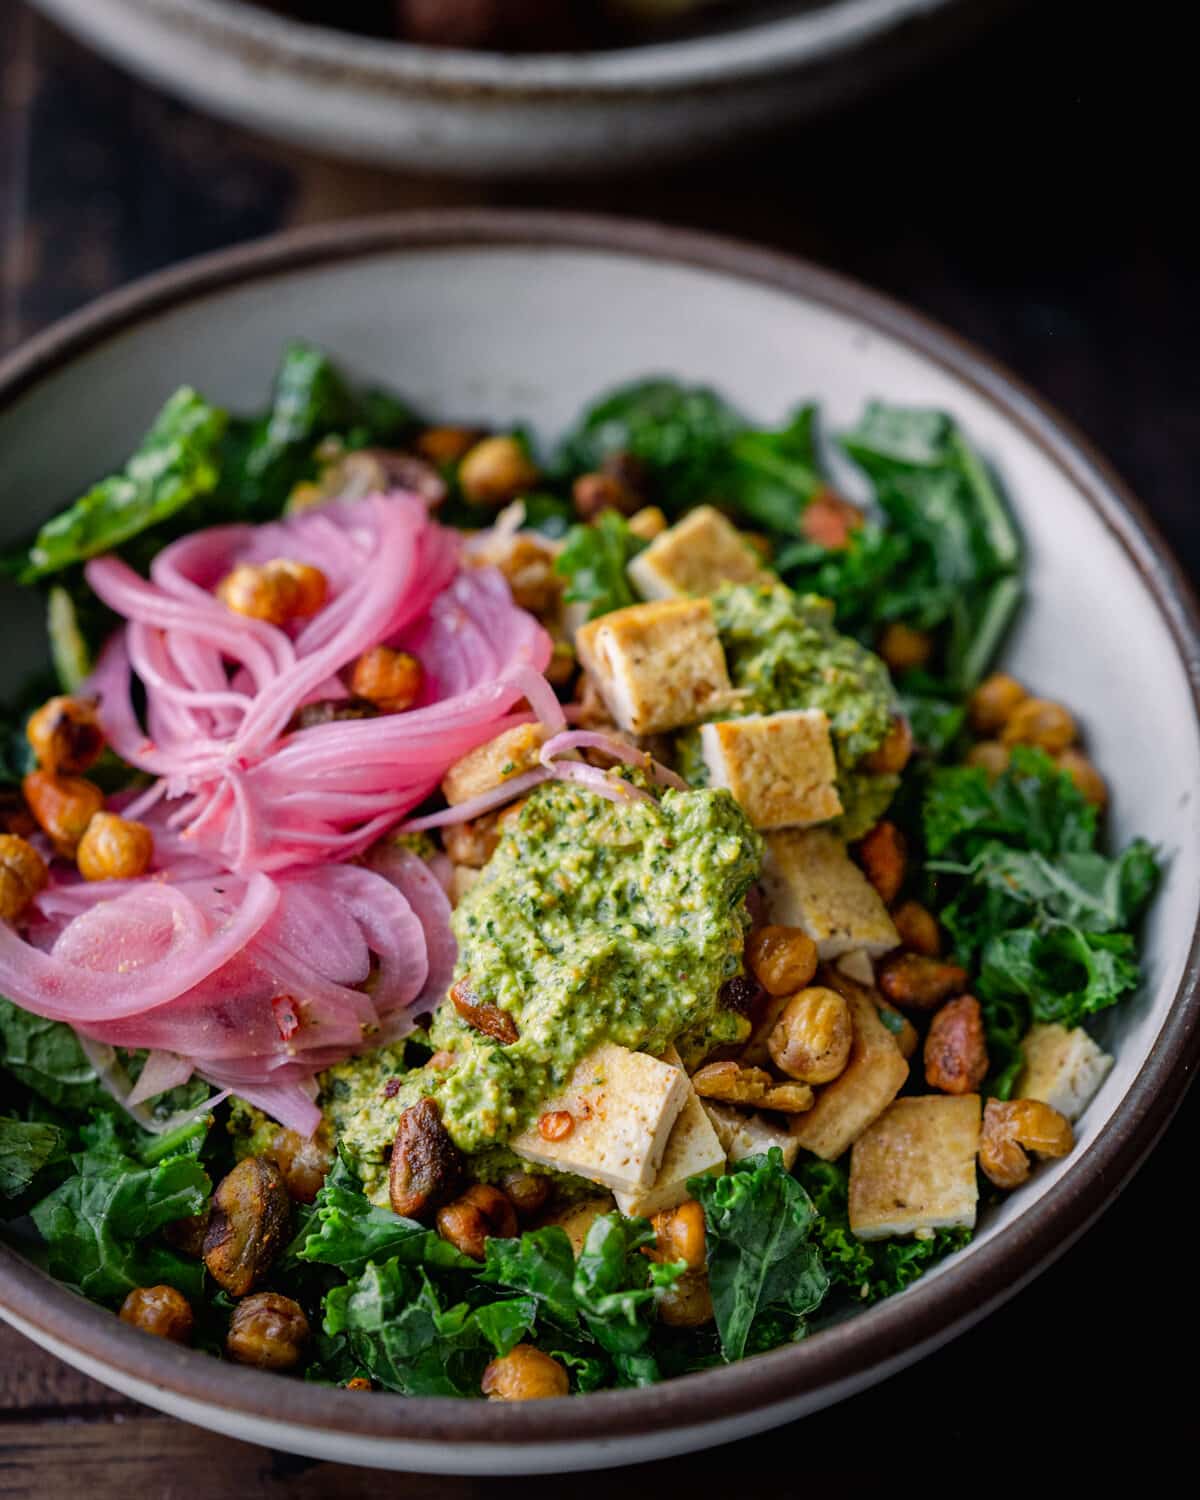
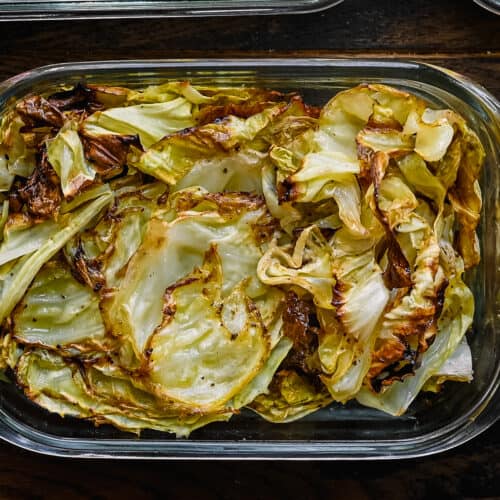
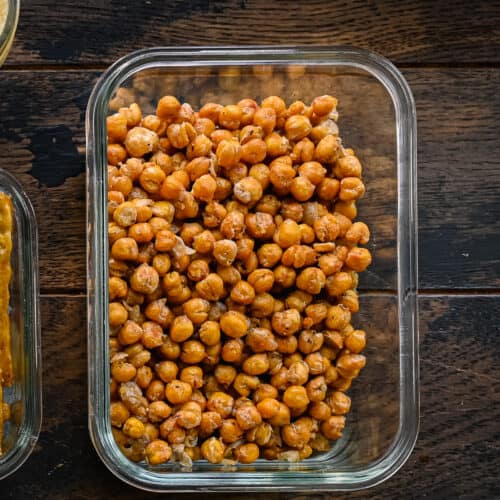
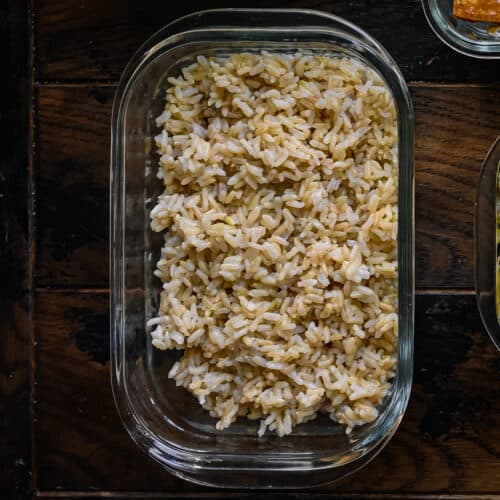
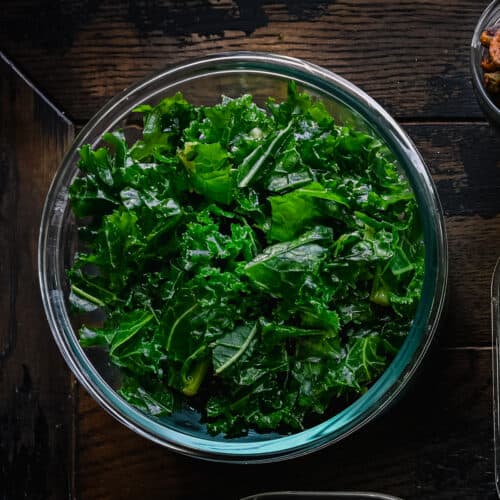
The focus of my prep are nutrient-dense whole foods and pantry staples, all of which are so affordable at ALDI. But as you can see from these photos, that does NOT mean the meals are boring. Anything but!
Doing this takes a decent amount of organization and planning, even more if you want to make it a budget-friendly meal prep. Luckily, I’ve done all the work for you!
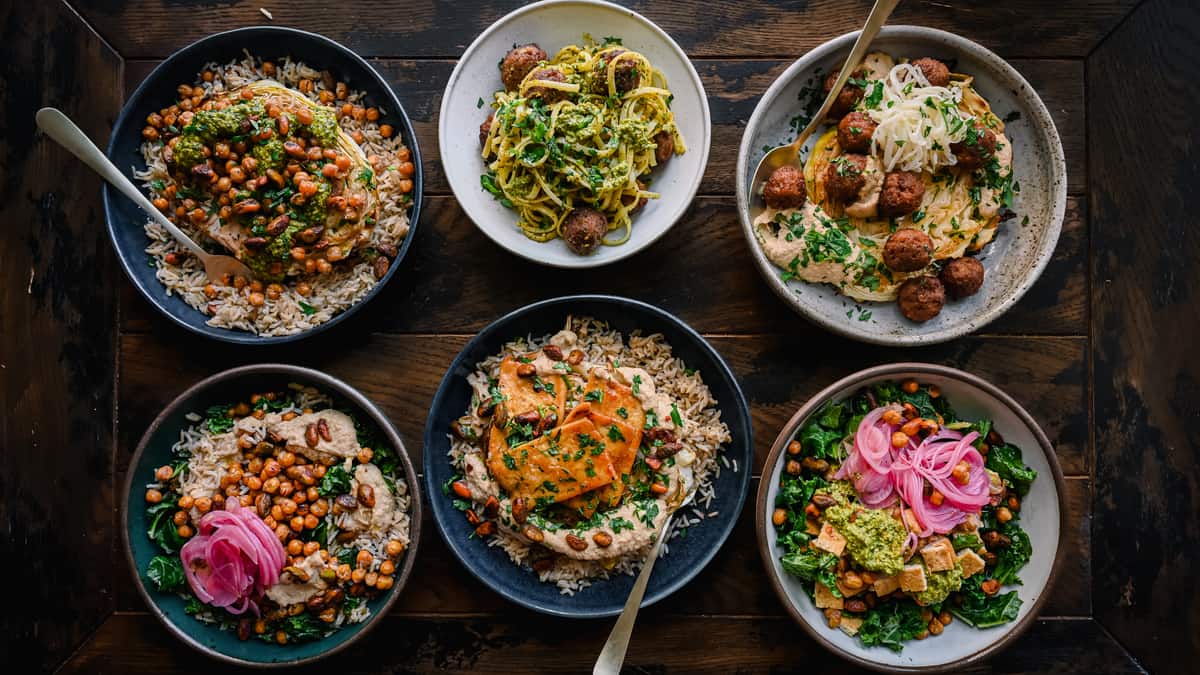
In this blog post, I share (1) my tips for doing vegan meal prep on a budget + (2) the grocery list for this meal prep + (3) the meal prep instructions.
If you want to dive deeper (and get all this content in a more printer-friendly format), I suggest signing up for the free PDF guide below! In the guide, you’ll get:
1. the meal prep grocery list + pantry staples list (all vegan + gluten-free)
2. the recommended meal prep order of operations
3. the meal prep instructions
4. 10 mix and match meal ideas
Tips for budget-friendly vegan meal prep
1. Organize your grocery list into categories and stick to it
Creating a grocery list and sticking to it is one of the most cost-effective ways to grocery shop, and I never leave my house without my list. And aside from the mandatory dark chocolate bar purchase, I’m usually pretty good at sticking to the list 🙂
When I grocery shop specifically for meal prep, I tend to organize my list into these six categories: (1) grains, (2) fresh veggies, (3) proteins, (4) healthy fats, (5) flavor booster, and (6) convenience foods.
I always consult my pantry before shopping to see what I already have that can fit these categories. It takes just two minutes (okay, maybe five minutes, if my pantry is a hot mess), and it’s a great way to save money and minimize food waste.
When it comes to convenience foods, I typically limit this to a couple items that I know will make a big difference in adding variety to my diet. In this week’s meal prep, I opted for linguine and Earth Grown Classic Meatless Meatballs from ALDI. These two items alone enabled me to switch things up quite a bit from the standard “vegan bowl” dinner (and they were very popular with my omnivore partner Max).
2. Focus on whole foods
While being vegan often gets a bad rep for being expensive, the vast majority of plant-based staple foods are remarkably affordable. Beans, lentils and tofu are so much cheaper than meats and cheese. Grains and pastas, along with seeds and nuts, typically don’t break the bank.
So if you’re trying to meal prep on a budget, making whole foods the bulk of your grocery list will definitely save you money. And of course, it’ll help you eat a healthier diet. Win win!
3. Stock up plant-based staples at ALDI
And when you shop at ALDI, even foods that are typically pricy—say, avocados and organic produce, or cashews and cold-pressed oils—are always affordable.
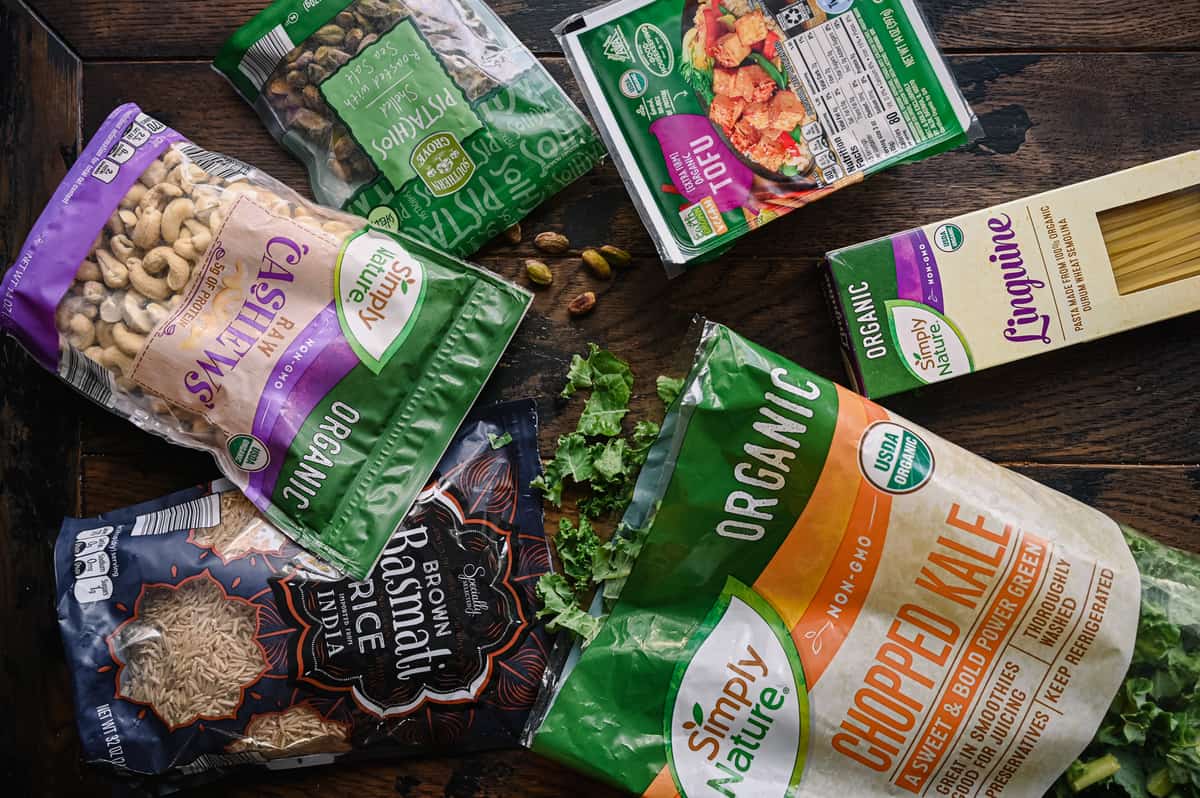
If shopping organic is important to you, here are a few of my go-to organic products from ALDI: Simply Nature Organic Extra Virgin Olive Oil, Simply Nature Organic Coconut Oil, Earth Grown Extra Firm Organic Tofu, Simply Nature Organic Chopped Kale, Simply Nature Raw Cashews, Simply Nature Organic Black Beans (and Pinto Beans), and Simply Nature Organic Creamy Peanut Butter.
4. Get creative
Just because you’re eating healthy and on a budget, it doesn’t mean you need to eat a bland diet! Even some really basic, everyday ingredients can be used as flavor boosters to make your meals more interesting. For instance, in this meal prep, I roasted a whole head of garlic and an onion to add a subtle sweetness to the cabbage sauce; together, that cost me less than 75 cents at ALDI.
A couple other examples: I use lemon zest and lemon juice in both of the meal prep sauces to bring brightness and zinginess, and rely on parsley to bring an herbaceous bite to the pistachio pesto.
And while canned beans might not sound like the most exciting thing to meal prep, you can add lots of flavor and crunch by simply roasting them in the oven. Just toss with a little olive oil, salt, and pepper and bake them until crunchy. You won’t believe how tasty the crunchy roasted chickpeas in this meal plan are (and they’re so simple!).
5. Multitask, multitask, multitask!
Any time you meal prep, start by spending 5-10 minutes doing the following: (1) think about the most efficient way to order your meal prep and (2) grab all the different tools you have in your kitchen that can help you cut corners and save time.
Okay, so multitasking isn’t directly related to saving money, but it will save you time…and isn’t time money??
For instance, in this meal prep, once the cabbage hits the oven, I start cooking the brown rice in my electric pressure cooker. And since the pressure cooker needs no babysitting, I can also make the spiced pistachios or the tofu on the stovetop at the same time.
ALDI Grocery List for this Budget-Friendly Meal Prep
For a printable guide that includes the grocery list, all recipes, and mix-and-match ideas, download the free PDF guide.
Dried Goods
- Specially Selected Brown Basmati Rice
- Simply Nature Raw Cashews
- Southern Grove Shelled Pistachios
- Canned Chickpeas (2 cans)
- Simply Nature Organic Extra Virgin Olive Oil
- Simply Nature Organic Linguine
Produce
- Lemons (1 bag)
- Garlic (1 sleeve)
- Yellow onions (1 bag)
- Flat-leaf parsley (1 or 2 bunches, dependent on size)
- Cabbage (2 medium-large or large heads)
Refrigerated / Frozen
- Earth Grown Extra Firm Organic Tofu
- Earth Grown Classic Meatless Meatballs
Note on serving size: The meal prep here should make about 10 meals for one person, so feel free to adjust the quantity of groceries and meal prep according to your needs. The cost of the groceries used to make these 10 meals came out to just around $22(!) at my local ALDI (I included only the cost of the dried goods actually used in the meal prep, since they’re shelf-stable and can be used again in the future; of course, prices may vary by store location).
Recipes for this Meal Prep
You can find all of the recipes for this meal prep below. For a more printer-friendly option with everything in one place, be sure to sign up for the free PDF guide!
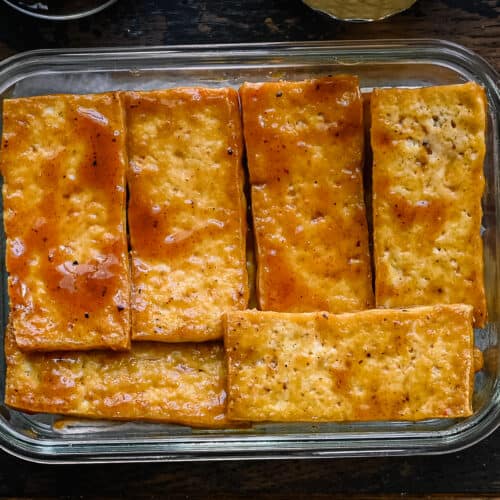
A super simple but super delicious way to cook tofu (no pressing required to get the tofu crispy!)! Tofu slabs get pan-fried until crispy, then coated in a sticky 4-ingredient sauce that’s sweet, tangy, and just a tad spicy!
- 1 (14-ounce) block of Earth Grown Extra Firm Organic Tofu
- 1 ½ tablespoons Simply Nature Organic Extra Virgin Olive Oil*
- 1 1/2 tablespoons Dijon mustard
- 1 1/2 tablespoons apple cider vinegar
- 2 ½ tablespoons maple syrup
- ⅛ teaspoon cayenne pepper (¼ teaspoon for spicy)
Drain the tofu and pat it well with a clean dish towel or paper towels to remove excess water. Slice the tofu widthwise into ⅓-inch thick slices (10 to 12 slabs on a 14-ounce block). Cover with a dry dish towel or paper towels and gently press down to remove as much water as you can without crushing the tofu.
Heat the oil in a large nonstick frying pan over medium-high heat. Line a sheet pan or large plate with paper towels. Once the oil is nice and hot, add the tofu slices. Cook for 7 to 8 minutes, gently moving the tofu slabs around the pan as needed to coat evenly in the oil, or until the bottom is golden browned.** Using a spatula, flip the tofu and cook for 5 to 6 minutes on the other side until evenly browned. Transfer the tofu to the paper towels and sprinkle with salt and pepper. Note: I find it helpful to use a large spatula and a smaller offset spatula or butter knife to flip the tofu.
Whisk together the mustard, vinegar, maple syrup, and cayenne pepper in a small bowl. Reduce the heat to medium-low and pour the glaze into the hot pan. Simmer for 30 to 45 seconds, stirring frequently, until thickened a bit. Turn off the heat and add the tofu slabs back to the pan and coat well in the sauce. Take off the heat.
Storage / Reheating: Store cooled tofu in an airtight container for 4 to 5days.
To reheat tofu, add a touch of oil or cooking spray to a nonstick frying pan over medium heat. Once hot, add the tofu and cook for 3minutes, flip, and cook for another 3 minutes. If desired, you can make more glaze and brush it on after reheating.
*If not using a nonstick pan, you will need a bit more oil, about 2 tablespoons.
** You may need to stand back to avoid oil sputter.
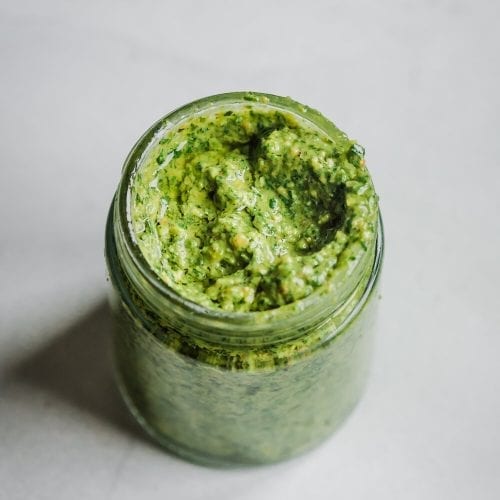
An unbelievably easy but delicious (and healthy) spin on pesto. Buttery pistachios, lemon zest, and fresh garlic make this sauce rich yet light. Good on so many things!
- 1/3 cup (40-45g) Southern Grove Shelled Pistachios (unsalted or salted)*
- 2 cups (25-30g) parsley leaves and tender stems
- 3 small garlic cloves, chopped
- 1 medium lemon, zested
- 2 tablespoons lemon juice, plus more as needed
- Freshly cracked black pepper
- 1/4 cup (56 mL) Simply Nature Organic Extra Virgin Olive Oil
- 1-2 tablespoons water, plus more as needed
Add the pistachios to a food processor and process until the pistachios are in very small pieces. Add the parsley, garlic, lemon zest, 2 tablespoons lemon juice, and black pepper to taste. Blend until a paste forms, scraping down the sides as you go along.
Add some of the extra virgin olive oil and blend until it starts to form a sauce. Scrape down the sides again, and stream in the rest of the oil until you have a smooth yet thick texture. If it is not smooth enough, add a bit more oil or water, one spoon at a time, until the sauce comes together into a creamy, spoonable consistency. Taste for seasonings, adding more salt or pepper or lemon juice as desired.
Store in an airtight jar in the fridge for 1 week. The pesto will thicken as it rests. Feel free to stir in a teaspoon or two of water to thin.
*If using salted pistachios, don’t add salt to the pesto while blending. After blending, taste, and add a pinch of salt as needed. If using unsalted pistachios, add about ¼ teaspoon kosher salt, plus more as needed to taste.
Roasted Cabbage, Garlic, and Onions
A simple sheet pan of roasted cabbage “steaks” along with garlic and onions, which will help create a flavorful but healthy and easy cabbage-garlic sauce.
- 1 large head of garlic
- 2 medium or large green cabbage heads
- 1 small or medium yellow onion, quartered
- Simply Nature Organic Extra Virgin Olive Oil
- Kosher salt and black pepper
Preheat the oven to 425ºF. Remove the outer layers of the garlic head and then slice off a thin layer off the top and sides to expose the skin of all of the cloves. Rub the exposed cloves with a bit of olive oil. Wrap in aluminum foil to make a packet.*
Remove any of the dark loose outer leaves on the cabbage and slice off the bottom nub. Slice the cabbage to get six or eight 3/4” thick steak-style slices. With any remaining cabbage, slice into wedges (or steak-style cuts, it’s up to you).
Place the cabbage steaks on a rimmed sheet pan and drizzle the first side with 1 ½ to 2 tablespoons of olive oil, and rub it in. Season generously with salt and pepper. Flip and repeat with the oil and salt and pepper on the second side. Do the same with the cabbage wedges and onion wedges.
Spread out the cabbage and onions across two sheet pans. Add the garlic packet on one of the pans.
Roast for 20 to 25 minutes, until there is some browning on the top of the cabbage steaks. Carefully flip the cabbage steaks to avoid breaking. The cabbage steaks will need another 15-20 minutes in the oven, depending on their size. If the outer leaves are browning, don’t worry – they are so tasty! The cabbage wedges, onion wedges, and garlic should only need another 10ish minutes. The garlic is done when cloves are very soft and practically oozing out of their skins
Store cooled vegetables in an airtight container for 4 to 5 days. If desired, stack cabbage steaks on top of each other in a wide container to retain their shape.
To reheat cabbage steaks, add them to a baking sheet and roast at 400ºF for 10-15 minutes until heated through.
*Or, you can wrap the garlic directly in parchment paper and then wrap in foil. The garlic will take about 10 extra minutes to roast this way.
A healthy yet easy all-purpose creamy sauce to spruce up your weeknight meals!
- Roasted garlic (from recipe above)
- Roasted onion wedges (from recipe above)
- 4 cups (400g) roasted cabbage (from recipe above)
- ½ cup (70g) raw cashews, soaked in boiling water for 30 minutes*
- 1 small lemon, zested
- 1 1/2 to 2 tablespoons lemon juice
- 1 cup (240 mL water), plus more as needed**
- 2 teaspoons Dijon mustard
- 1 teaspoon kosher salt
- Freshly cracked black pepper
Squeeze the roasted garlic cloves into a blender (don’t include any of the papery skin). Add roasted onion wedges, roasted cabbage, soaked cashews, lemon zest, 1 ½ tablespoons lemon juice, 1 cup water, mustard, salt, and pepper. Blend on high until smooth and creamy. You may need to add a bit more water as you go to continue blending.
Taste for seasonings, adding more salt, lemon juice, mustard, or pepper as needed. For added richness, add in a tablespoon of extra-virgin olive oil and blend again.
Store in an airtight jar in the fridge for 1 week. This makes a lot of sauce!
*If you don’t have a high-powered blender, I recommend adding the cashews to a saucepan, covering with water, and boiling for 15 minutes. Or, soak them in cool water overnight.
** The amount of water is dependent on how much cabbage you use, how powerful your blender is, etc. Start with 1 cup, then add a bit more as needed.
Plain canned chickpeas become addictively crunchy when roasted in olive oil, salt, and pepper. It doesn’t get any easier than this!
- 2 15-ounce cans chickpeas, drained and rinsed
- 4 to 5 teaspoons Simply Nature Organic Extra Virgin Olive Oil
- 1 ½ teaspoons kosher salt
- Freshly cracked black pepper
Preheat the oven to 425ºF. Transfer the drained chickpeas to a large clean kitchen towel. Pat dry and gently roll the chickpeas back and forth to remove all water.
In a large bowl, toss the chickpeas with the oil, salt and pepper. Spread out on a rimmed baking sheet. Bake for 20 minutes. Shake the pan and roast for another 5 to 10 minutes until crispy and nicely browned.
Store in a container with the lid slightly ajar. To reheat, add to a baking sheet at 300F and bake for 7 to 10 minutes until hot and a bit crunchy.
Store cooled chickpeas in a jar or container with the lid slightly ajar. Store on the countertop or in the pantry for 4 to 5 days.
To reheat chickpeas, transfer to a baking sheet, spray with nonstick cooking spray (or toss with a tiny bit of oil, about ¼ teaspoon) and bake at 300ºF for 7 to 8 minutes, until hot and crisp.
• For *super crispy* roasted chickpeas, add the chickpeas to a salad spinner to remove all the water (depending on size of salad spinner, may need to do this in two batches).
Two easy, no-fuss methods for cooking brown rice
- 1 cups (180g) Specially Selected Brown Basmati Rice
- Water
- 1 teaspoon olive oil (optional)
Electric Pressure Cooker: Add brown rice and and 1 1/4 cups water (300 mL) to your pressure cooker and stir. Add oil, if desired.
Use the Pressure Cook setting at high pressure and cook for 20 minutes. Allow a natural pressure release for 10 minutes. Open the pot and fluff with a fork.
Stovetop: Add brown rice and 2 cups (480 mL) water to a small saucepan. Add oil, if desired. Bring to a boil. Cover, reduce the heat to low, and simmer for 45 minutes. Remove the pan from the heat and let rest, covered, for 10 minutes. Fluff with a fork.
Once cooled, store rice in an airtight container in the fridge for 4 to 5 days.
To reheat: Add rice to a microwave-safe bowl. Add a couple ice cubes and cover the bowl. Heat on high until hot (time will depend on volume of rice).
• This makes about 3 cups of cooked rice. Feel free to scale up or down as needed. I usually cook 1 ½ cups of rice for myself.
An easy but addictively delicious crunchy condiment made of pistachios, spices, and olive oil. It’ll stay good in your pantry for several weeks and makes a great salad, soup, or bowl topper (or snack!).
- 2 to 3 teaspoons Simply Nature Organic Extra Virgin Olive Oil
- 3/4 cup (90g) Southern Grove Shelled Pistachios (unsalted or salted)
- 3/4 teaspoon red pepper flakes
- 3/4 teaspoon ground cumin
- 3/4 teaspoon paprika
- Pinch or two of cayenne pepper
- Freshly cracked black pepper
- 3/4 teaspoon sea salt (omit if using salted pistachios)
Heat a medium frying pan over medium heat. After a minute or two, add the olive oil and pistachios. For roasted pistachios, cook for 1 minute, tossing frequently. For raw pistachios, cook for 3 minutes, tossing frequently.
Add the red pepper flakes, cumin, paprika, cayenne, several cracks of black pepper, and salt (only add salt if using unsalted pistachios). Stir almost continuously for 1 minute, then take off the heat.
Transfer to a plate and spread out with a spoon, ensuring spices evenly coat the nuts.
Once cool, store spiced pistachios in an airtight container or jar in your pantry for 3 weeks (may last longer).
The only way to make kale salads delicious and easy to chew!
- Simply Nature Organic Chopped kale (as much as you want)
- Lemon juice
- Simply Nature Organic Extra Virgin Olive Oil
In a large bowl, add as much kale as you want. Squeeze in a bit of lemon juice and a spoon of olive oil (not too much). Use your hands to massage the kale for about 1 minute.
Store in a resealable bag in the fridge for 5 to 6 days.


